Author: Maria

  • Baked Sausage and Cheese Rolls

    Baked Sausage and Cheese Rolls

    Baked Sausage and Cheese Rolls are a delicious snack or meal option perfect for any occasion. These rolls are easy to make and taste amazing. They are warm, cheesy, and full of flavor. You can enjoy them fresh out of the oven or let them cool and serve them later. Let’s dive into the simple ingredients and directions to create this tasty treat.

    Ingredients:

    • 3 rolls
    • 2 sausages
    • 100-120 g hard cheese
    • 1/2 red onion
    • 1 clove garlic
    • 3 eggs
    • 1 pinch of salt

    Directions:

    Grate the sausages on a coarse grater. Mix them with grated cheese, finely chopped red onion, and grated garlic in a bowl. In another bowl, whisk the eggs with a pinch of salt. Take the horizontally halved rolls and coat them in the egg mixture. Arrange the rolls on a baking sheet lined with baking paper. Cover each roll with the sausage and cheese mixture. Bake in a preheated oven at 180-200°C for 15-20 minutes. Serve the baked rolls warm; they can also be served cold.

    How to serve Baked Sausage and Cheese Rolls

    Serve the Baked Sausage and Cheese Rolls with your favorite dipping sauce, such as ketchup or mustard. Pair them with a simple salad for a complete meal. These rolls make a great appetizer at parties or gatherings. Enjoy the warm, cheesy goodness with family and friends!

  • Vegetable and Pea Stew

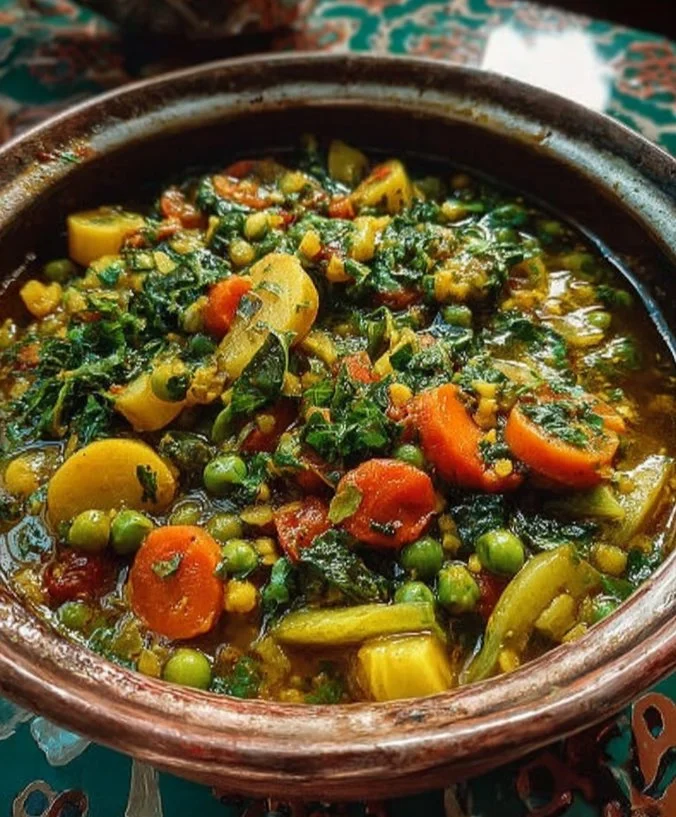
    Vegetable and Pea Stew

    Vegetable and Pea Stew is a warm and comforting dish. It is full of fresh ingredients and bold flavors. This stew is perfect for any day of the week. It’s healthy, easy to make, and packed with nutrients. You can enjoy it alone or serve it with crusty bread. Let’s dive into the details of this delicious recipe.

    Ingredients:

    • 1 fennel bulb
    • 2 carrots
    • 2 zucchini
    • 2 small red onions
    • 200 g shelled peas
    • 1/2 candied lemon
    • 1 teaspoon turmeric
    • 1 bunch of coriander
    • Olive oil
    • Salt
    • Pepper

    Directions:

    Cook the peas for 3 minutes in boiling salted water. Drain and set aside. In a casserole dish with a drizzle of olive oil, put the minced onions and the fennel bulb cut into pieces. Cook for about ten minutes, stirring occasionally. Add the carrots cut into fairly large pieces, the zucchini cut into slices, the candied lemon peel cut into small dice, the turmeric, salt, and pepper. Pour in 5 cl of water, mix, cover, and simmer for about thirty minutes. Add the peas and continue cooking for a few minutes. When serving, add the chopped coriander.

    How to Serve Vegetable and Pea Stew

    Serve the Vegetable and Pea Stew hot. You can place it in bowls and garnish it with fresh coriander. Enjoy it with crusty bread or on its own. This dish will warm you up and make you feel good. Enjoy your meal!

  • Homemade Fermented Pickles Without Canning

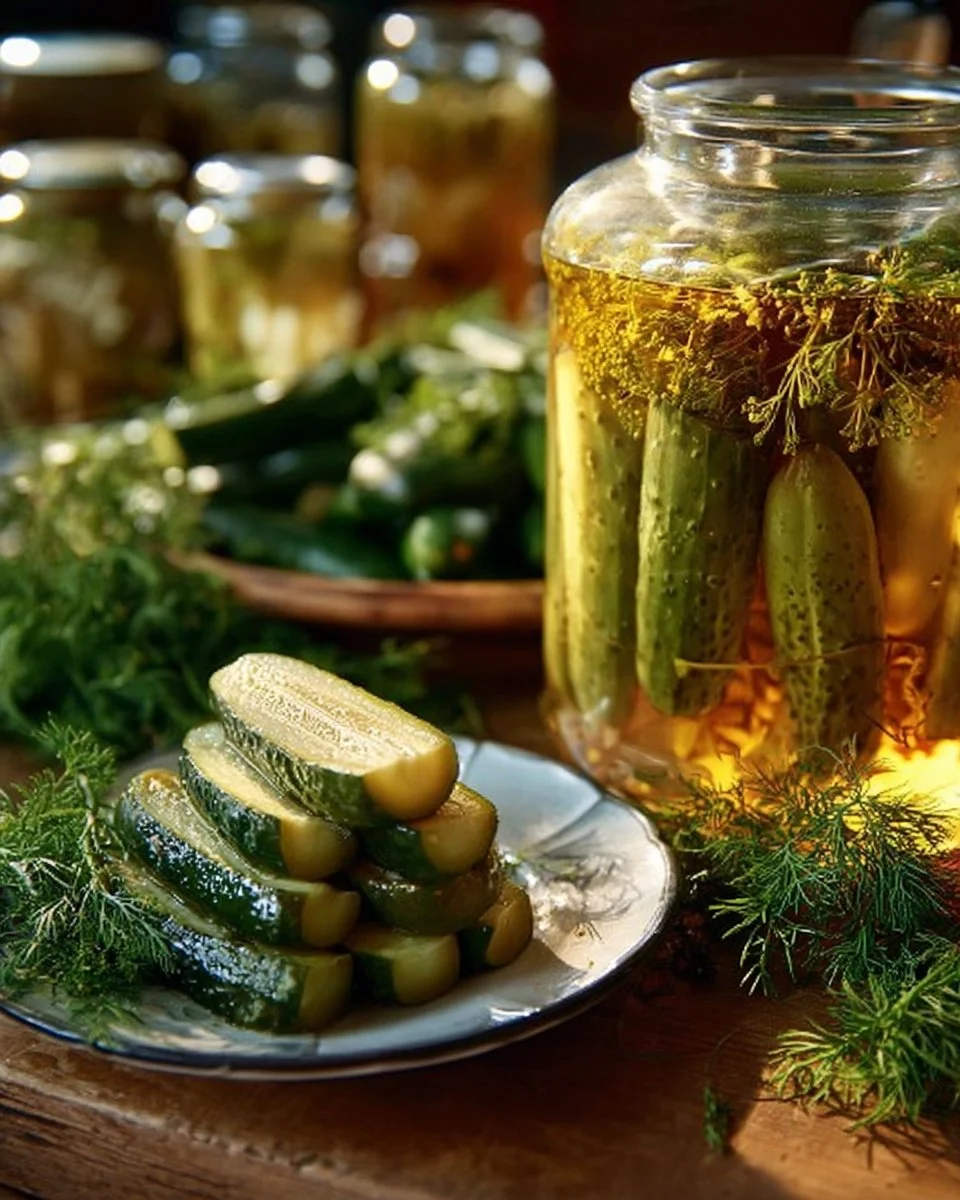
    Homemade Fermented Pickles Without Canning

    Homemade fermented pickles are a delicious and healthy snack. You can make them easily without canning. This method lets you enjoy crisp, tangy pickles packed with flavor. They are perfect on sandwiches, in salads, or as a crunchy side.

    Ingredients:

    • 2000 g cucumbers
    • 1 bunch of dill
    • 3–6 cloves garlic
    • 2 pieces of horseradish
    • 3 horseradish leaves
    • 1500 ml boiling water
    • 1.5 tablespoons salt

    Directions:

    1. Step

    Place washed and dried dill, cut horseradish, one horseradish leaf, and 2–3 cut cloves of garlic at the bottom of a sterilized jar.

    2. Step

    Put the washed cucumbers in the jar. Cover them with another layer of dill and the remaining garlic.

    3. Step

    Finally, add the remaining horseradish leaves and pour in boiling water mixed with salt.

    4. Step

    Seal the homemade pickles tightly in the jar and let them sit in a cool, dark place for 3–4 days. After that, use them as needed.

    5. Step

    If you are looking for canning inspiration, join our FB group Seasonal Recipes, Canning.

    6. Step

    Step-by-Step Video

    Watch the video here.

    7. Step

    Recipe source: Kuchnia Marioli.

  • Zucchini Caviar with Onion and Coriander

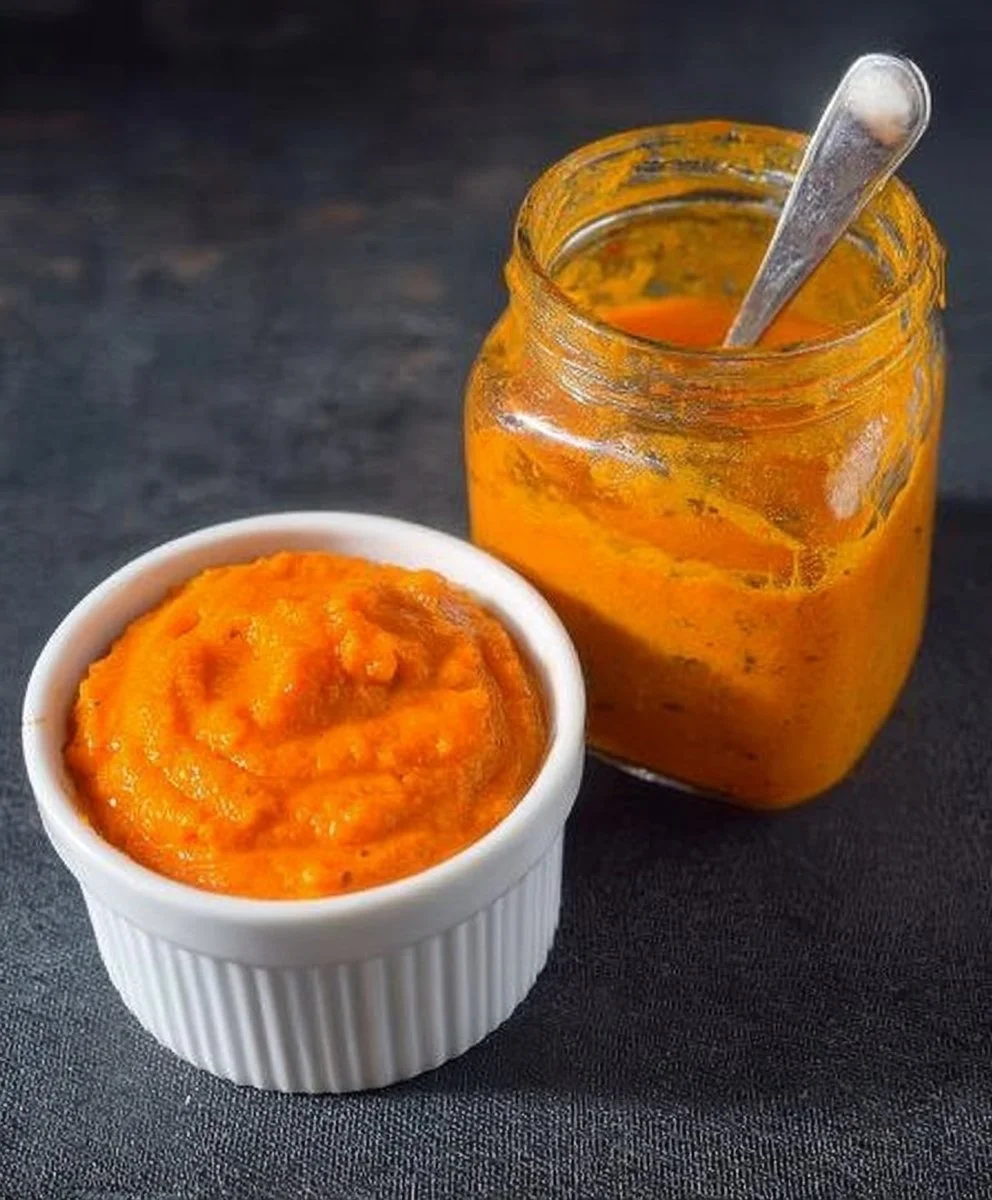
    Zucchini Caviar with Onion and Coriander

    Zucchini Caviar with Onion and Coriander is a delightful and healthy dish that is perfect for spreading on bread or serving as a dip. This recipe uses simple ingredients and is easy to make. The combination of zucchini, carrots, and spices creates a flavorful treat that can be enjoyed in many ways. Let’s dive into the ingredients and how to make this delicious dish.

    Ingredients:

    • 1000 g zucchini
    • 250 g carrots
    • 300 g onions
    • 80 g tomato paste
    • 70 g vegetable oil
    • 1 teaspoon salt
    • 1 teaspoon sugar
    • 1/4 teaspoon ground black pepper
    • dried garlic to taste
    • dried coriander to taste
    • 1 teaspoon 9% vinegar

    Directions:

    1. Step 1
      Remove the edges from the zucchini, peel it, and cut it into small cubes. Then grate the peeled carrots using a coarse grater.

    2. Step 2
      In a pan with heated oil, sauté the finely chopped onions for 2-3 minutes. Add the grated carrots and after another 2-3 minutes, stir in the tomato paste.

    3. Step 3
      Transfer the mixture to a pot. Combine it with the zucchini and season the ingredients with salt, sugar, pepper, dried garlic, and coriander.

    4. Step 4
      Cover the pot with a lid and simmer the vegetables for 5-10 minutes until softened. Blend the vegetables and return them to heat. Cook for 30-40 minutes, stirring occasionally to prevent sticking.

    5. Step 5
      Towards the end of cooking, add vinegar and fill sterilized jars with the zucchini caviar. Seal the jars with lids and let them cool upside down.

      Note: This recipe yields up to 1000 ml of zucchini caviar.

    6. Step 6
      Serve the zucchini caviar with your favorite bread, as a side for meat dishes, or as a unique dip.

    7. Step 7
      If you are looking for inspiration for preserving, join our Facebook group Seasonal Recipes and Preserving.

    8. Step 8

      Step-by-Step Video Recipe

    9. Step 9
      Source of the recipe: Yuliya Small

    Enjoy making and serving Zucchini Caviar with Onion and Coriander. It is a perfect addition to your meals and gatherings!

  • Homemade Pistachio Milk

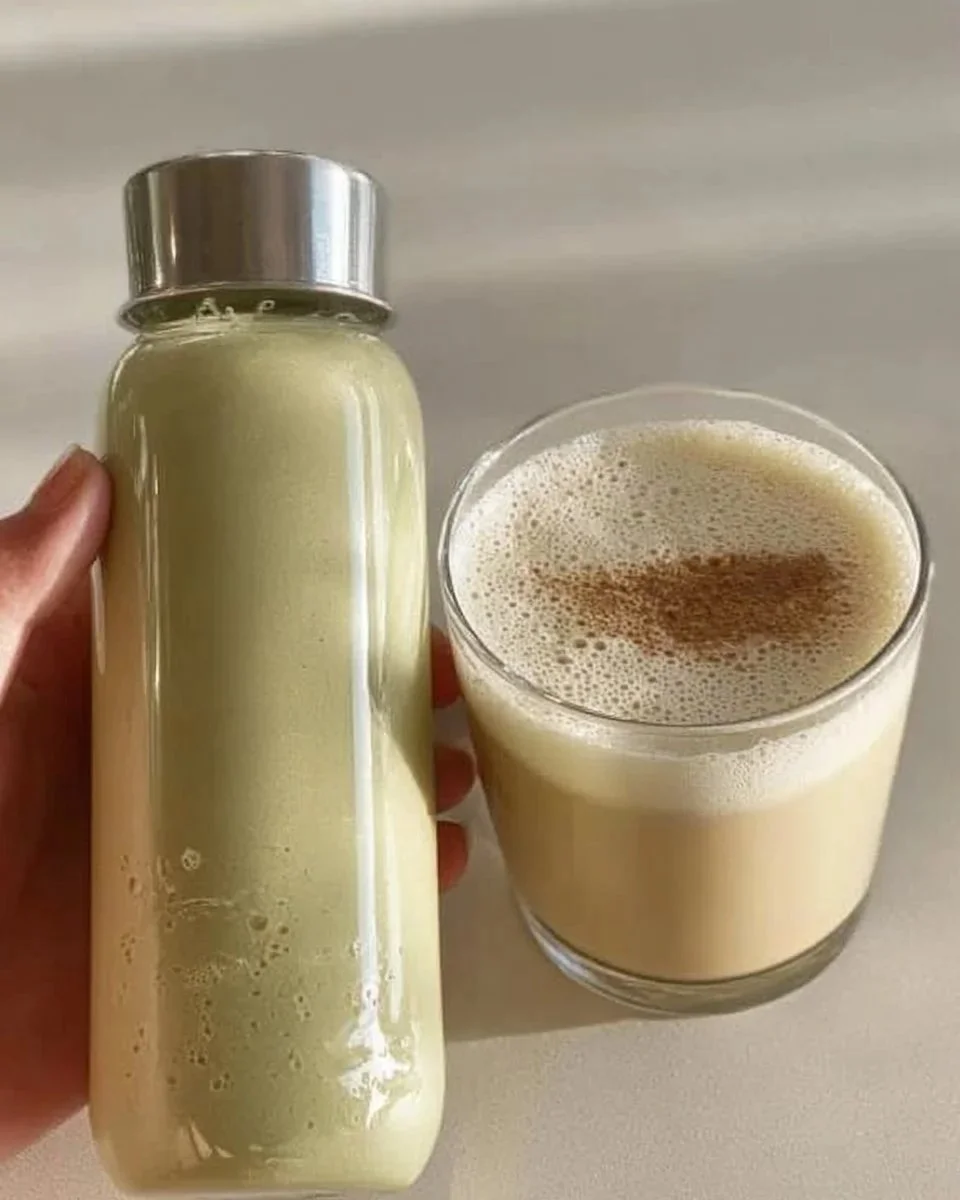
    Homemade Pistachio Milk

    Homemade Pistachio Milk Recipe

    If you’re looking for a delicious and creamy dairy-free alternative, homemade pistachio milk is a fantastic choice. With just a few simple ingredients and a blender, you can whip up this nutty treat in no time. Whether you’re adding it to your morning coffee or enjoying it with cereal, this pistachio milk is sure to delight.

    Ingredients:

    • 1 cup pistachios (150 g)
    • 3 cups filtered water (720 ml)
    • 1 pinch of salt
    • 1 teaspoon almond extract (5 ml)
    • 3 tablespoons maple syrup (45 ml)

    Directions:

    1. Add all ingredients to a blender and blend until the mixture is smooth and frothy.
    2. Use a nut milk bag to strain the milk into a large cup or pot, removing any solid bits.
    3. Pour your freshly made pistachio milk into a bottle or jar for storage.
    4. Serve chilled and enjoy this tasty beverage. You can store it in an airtight container in the refrigerator for up to one week.

    How to Serve Homemade Pistachio Milk

    Homemade pistachio milk is incredibly versatile. Enjoy it straight from the bottle, or pour it over granola or oatmeal for a nutritious breakfast. You can also use it in smoothies or add it to coffee for a nutty flavor twist. Experiment with your favorite recipes to find out just how delightful pistachio milk can be!

  • Tomato and Bell Pepper Preservation

    Tomato and Bell Pepper Preservation

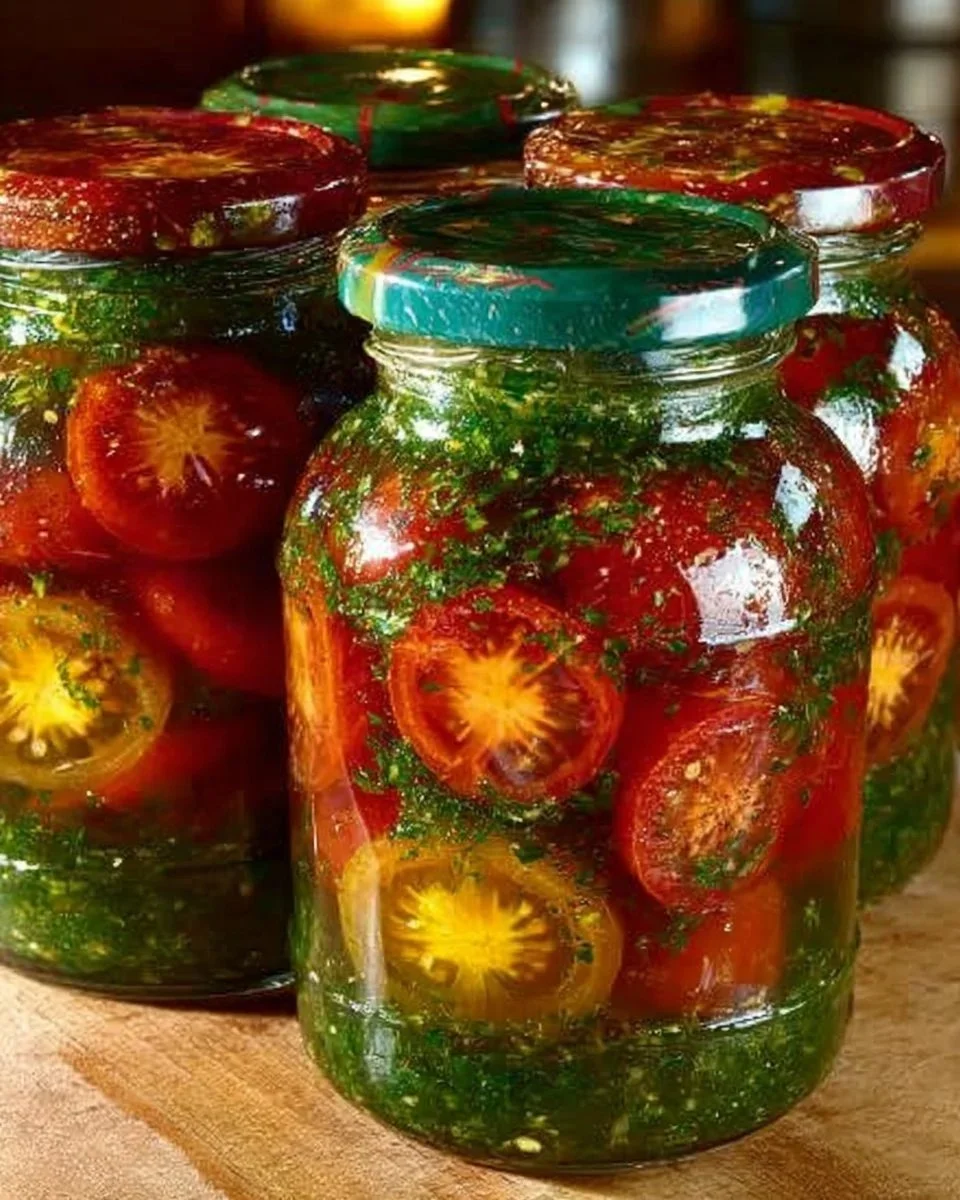
    Preserving the vibrant flavors of summer is easy with this Tomato and Bell Pepper Preservation recipe. This method uses fresh vegetables and herbs to create a delicious homemade preserve that’s perfect for adding a burst of flavor to sandwiches, salads, or just as a zesty side. The combination of tomatoes, bell peppers, and a hint of spice offers a delightful balance that everyone will love.

    Ingredients:

    • 4.4 pounds (2000 g) tomatoes
    • 0.66 pounds (300 g) bell pepper
    • 1-2 chili peppers
    • 2.1 ounces (60 g) garlic
    • 1/2 bunch cilantro
    • 1/2 bunch parsley
    • 4.2 cups (1000 ml) water
    • 1 tablespoon salt (15 g)
    • 4 tablespoons sugar (50 g)
    • 6 tablespoons vinegar (90 ml)

    Directions:

    1. Start by blending the cilantro, parsley, garlic, and chili peppers in a blender until smooth. This creates a vibrant pesto that will flavor your preserves beautifully.
    2. Prepare the bell pepper by removing its seeds before adding it to the blender. Blend until everything is well combined and smooth.
    3. In clean jars, cover the bottom with half of the prepared pesto.
    4. Halve the tomatoes and arrange them over the pesto in the jars. Pour the remaining pesto on top, ensuring the tomatoes are well covered.
    5. In a separate pot, mix the water, salt, and sugar, bringing it to a boil for 3 minutes. This creates a brine that will enhance the flavors.
    6. Carefully pour the brine into the jars, covering the tomatoes and pesto. Leave the lids loosely fitted to allow air to escape.
    7. Let the jars stand for 15 minutes to allow flavors to meld.
    8. After 15 minutes, add 3 tablespoons of vinegar to each jar and seal them tightly.
    9. Place the jars upside down to cool completely. This helps create a vacuum seal.
    10. Store your jars in a cool, dark place and refrigerate them after opening.

    How to Serve Tomato and Bell Pepper Preservation

    This Tomato and Bell Pepper Preservation pairs wonderfully with grilled meats, can be used as a zesty topping for burgers, or even added to pasta for a quick meal. For an extra touch, serve it with some crusty bread for dipping. Enjoy the taste of summer all year round with this simple yet flavorful preserve!

  • Sweet Potato Quiche

    Sweet Potato Quiche

    Delicious Sweet Potato Quiche Recipe

    Looking for a healthy and tasty dish that’s easy to make? This Sweet Potato Quiche is a delightful blend of sweet potatoes, eggs, and your favorite vegetables, baked into a deliciously satisfying meal. Perfect for breakfast, brunch, or a light dinner, it’s a great way to incorporate nutritious ingredients into your diet.

    Ingredients:

    • 1-2 cooked sweet potatoes (about 1-2 cups or 250-500 grams)
    • 4 large eggs
    • 1/3 cup ricotta cheese (about 80 grams)
    • Your choice of fresh or frozen vegetables (such as spinach, bell peppers, or broccoli)
    • 1/4 cup grated cheese (about 30 grams)

    Directions:

    1. Preheat your oven to 400°F (200°C). Place the cooked sweet potatoes on a baking sheet and bake until soft, which should take around 40 minutes.
    2. Lightly spray a quiche pan with cooking spray. Once the sweet potatoes are soft, mash them and press them into the base of the quiche pan to form a crust.
    3. In a separate bowl, whisk together the eggs, ricotta cheese, and any spices you prefer until the mixture is smooth.
    4. Stir your choice of fresh or frozen vegetables into the egg mixture, then pour this blend over the sweet potato crust.
    5. Finally, sprinkle the grated cheese on top. Place the quiche in the oven and bake for 35-40 minutes, or until the quiche is firm and the sides are golden brown.
    6. Allow the quiche to cool for a few minutes before slicing, serving, and enjoying!

    How to Serve Sweet Potato Quiche

    For a delightful serving suggestion, enjoy this Sweet Potato Quiche with a fresh side salad or some fruit. It also pairs wonderfully with a light yogurt or a dollop of sour cream for extra creaminess. This dish is versatile enough to be served warm or at room temperature, making it perfect for any occasion!

  • Pickled Zucchini

    Pickled Zucchini

    Pickled Zucchini: A Tangy Treat for Any Occasion

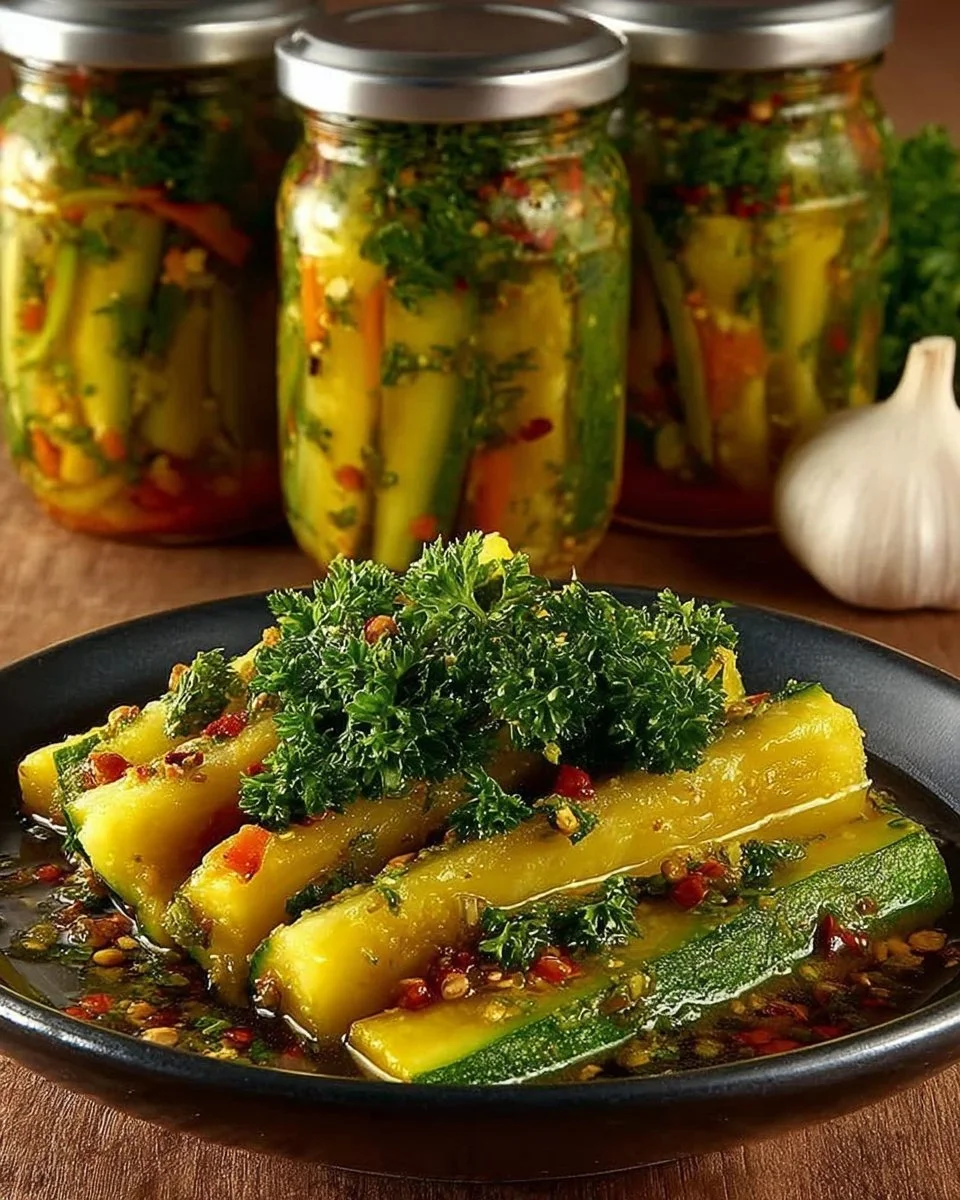
    Looking for a delicious way to preserve your summer zucchini harvest? This pickled zucchini recipe is the perfect solution! With its fresh vegetables and tangy brine, this dish makes a delightful addition to any meal or a tasty snack on its own.

    Ingredients:

    • 1000 g Zucchini (approximately 2 pounds)
    • 2 pieces Onion
    • 1 piece Bell pepper
    • 1 head Garlic
    • 1 bunch Parsley
    • 1000 ml Water (approximately 4 cups)
    • 30 g Salt (about 2 tablespoons)
    • 100 g Sugar (about ½ cup)
    • 1 teaspoon Black peppercorns
    • 3-4 pieces Pimento (allspice)
    • 2 pieces Bay leaf
    • 50 ml Vinegar (9°) (approximately 3 tablespoons)

    Directions:

    1. Begin by cutting the ends off the zucchini and slicing it into rounds.
    2. Slice the onion into half-moons and cut the bell pepper into smaller pieces after removing the seeds.
    3. Wash and chop the parsley, and peel the garlic.
    4. In a large saucepan, combine the water, salt, sugar, black peppercorns, pimento, and bay leaf. Bring the brine to a boil and let it cook for 3 minutes.
    5. Add the zucchini, onion, bell pepper, parsley, and garlic to the boiling brine. Cover and boil the mixture for an additional 2 minutes.
    6. Remove the vegetables from the saucepan and fill sterilized jars with them.
    7. Mix the vinegar into the remaining brine, boil the liquid for 1 more minute, then pour it over the vegetables in the jars.
    8. Seal the jars tightly and let them cool upside down under a towel. Store the pickled zucchini in a cool, dark place.
    9. Once opened, consume the contents as soon as possible and keep the jar in the refrigerator.

    How to Serve Pickled Zucchini

    Pickled zucchini makes a fantastic addition to sandwiches, salads, or cheese platters. These tangy slices can elevate a simple meal with their vibrant flavor. Try serving them alongside grilled meats or as a topping for tacos. No matter how you choose to enjoy it, this pickled zucchini will surely delight your taste buds and impress guests.

    Now that you know how to make this delicious pickled zucchini, it’s time to gather your ingredients and start cooking. Enjoy the fresh taste of summer in every bite!

  • Raspberry Mousse Recipe

    Raspberry Mousse Recipe

    Delicious Raspberry Mousse Recipe

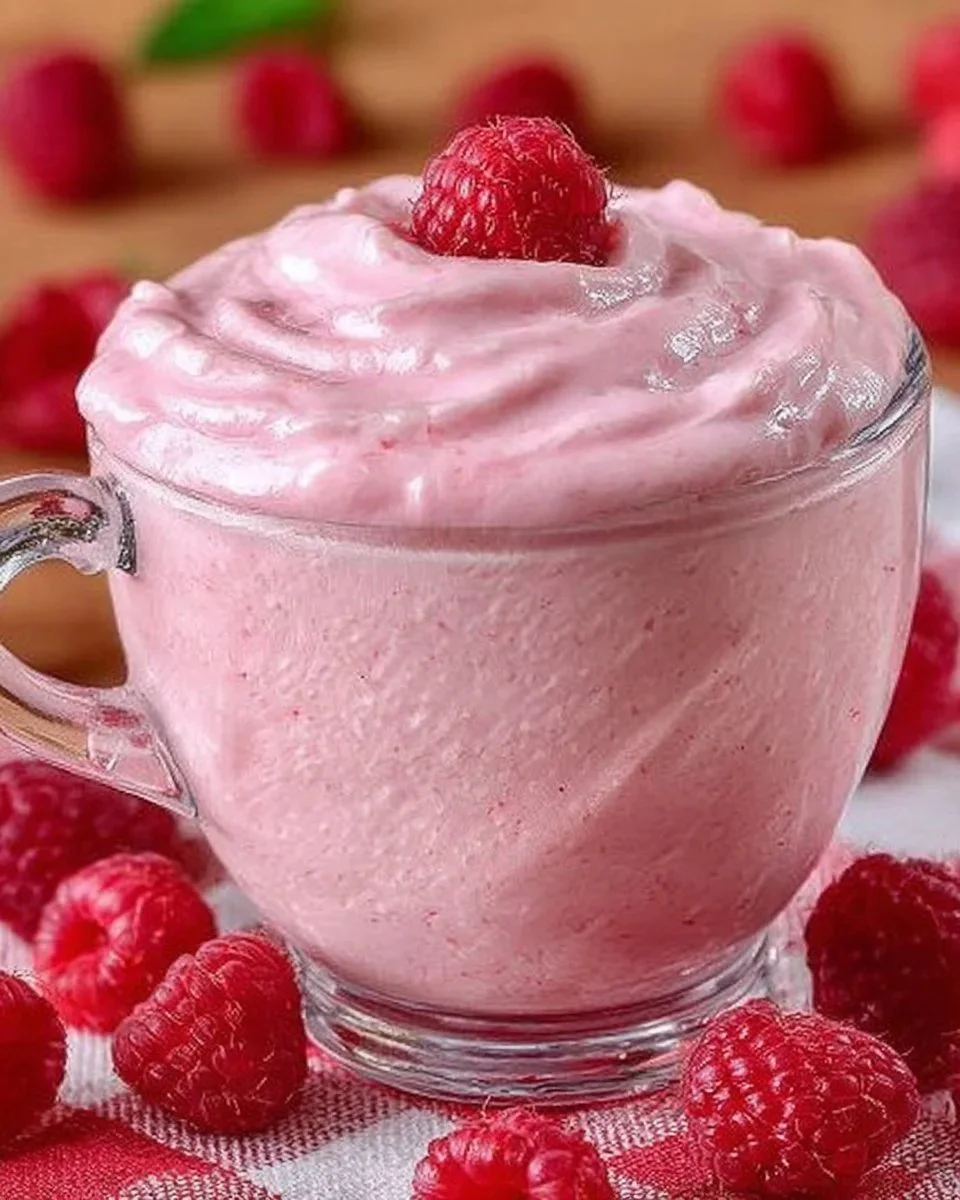
    Indulge in a light and airy dessert with this delightful Raspberry Mousse recipe. With just a few simple ingredients—fresh raspberries and egg whites—you can create a sophisticated treat that’s perfect for any occasion. Whether you’re hosting a dinner party or simply craving something sweet, this mousse is sure to impress your guests.

    Ingredients:

    • 1 cup fresh raspberries (150 g)
    • 3 tablespoons egg whites (40 g)
    • Chopped pistachios for garnish
    • Fresh fruit for garnish

    Directions:

    1. Begin by blending the raspberries in a blender or food processor until smooth. Strain the mixture through a fine sieve if you prefer a seedless texture.
    2. In a separate bowl, whip the egg whites until they reach stiff peaks, which means they will hold their shape and not fall back into the bowl.
    3. Carefully combine the raspberry puree with the whipped egg whites. Gently fold the mixture to maintain the airy texture.
    4. Spoon the mousse into serving glasses or bowls, filling them generously.
    5. Serve the raspberry mousse immediately for a fresh experience, or refrigerate for about 30 minutes to slightly firm it up.
    6. Before serving, garnish each glass with chopped pistachios and fresh fruit for a beautiful presentation.

    How to Serve Raspberry Mousse Recipe

    This Raspberry Mousse is fabulous on its own, but you can elevate it even further by pairing it with a scoop of vanilla ice cream or a dollop of whipped cream. For a beautiful presentation, serve it in clear glasses to showcase the vibrant color and texture. Enjoy this sweet treat during warm weather or as a refreshing end to any meal.

  • Zucchini and Cheese Bake

    Zucchini and Cheese Bake

    Delicious Zucchini and Cheese Bake Recipe

    If you’re looking for a tasty and healthy dish to impress your family or guests, this Zucchini and Cheese Bake is the perfect solution. Packed with fresh zucchini, savory herbs, and gooey cheese, this recipe is not only simple to prepare but also a great way to enjoy vegetables. Baked to perfection, it can be served hot or cold, making it an ideal choice for any occasion.

    Ingredients:

    • 1 ½ pounds zucchini (650 g)
    • 3 large eggs
    • 2 tablespoons sour cream
    • 5 tablespoons all-purpose flour
    • Fresh dill, to taste
    • Fresh parsley, to taste
    • 1 teaspoon Italian herbs
    • ½ teaspoon dried garlic
    • Salt, to taste
    • Black pepper, to taste
    • 1-2 tablespoons vegetable oil
    • 5 ½ ounces hard cheese (150 g)
    • 10 ½ ounces tomatoes (300 g)
    • Fresh dill, for garnish
    • Fresh parsley, for garnish

    Directions:

    1. Start by cutting off the ends of the zucchini. Grate the zucchini using a coarse grater and set it aside.
    2. In a mixing bowl, combine the grated zucchini, eggs, chopped fresh parsley, dill, dried garlic, Italian herbs, and sour cream. Season with salt and black pepper, then mix everything well.
    3. Gradually add the flour to the mixture and combine until you achieve a uniform dough.
    4. Prepare a baking sheet by lining it with baking paper and lightly oiling it. Spread the zucchini dough evenly on the sheet.
    5. Sprinkle the grated hard cheese over the dough, followed by a layer of tomato slices. Season with a little more salt and Italian herbs.
    6. Bake in a preheated oven at 400°F (200°C) for 30-35 minutes, or until the top is golden brown.
    7. Once baked, garnish with freshly chopped dill and parsley. Cut into pieces and serve warm or cold.

    How to Serve Zucchini and Cheese Bake

    This Zucchini and Cheese Bake is versatile and can be served as a delightful appetizer, side dish, or even a light main course. Pair it with a crisp green salad dressed with vinaigrette for a complete meal. It also complements grilled meats or fish beautifully. Enjoy this flavorful dish at your next gathering or family meal!