Author: Maria

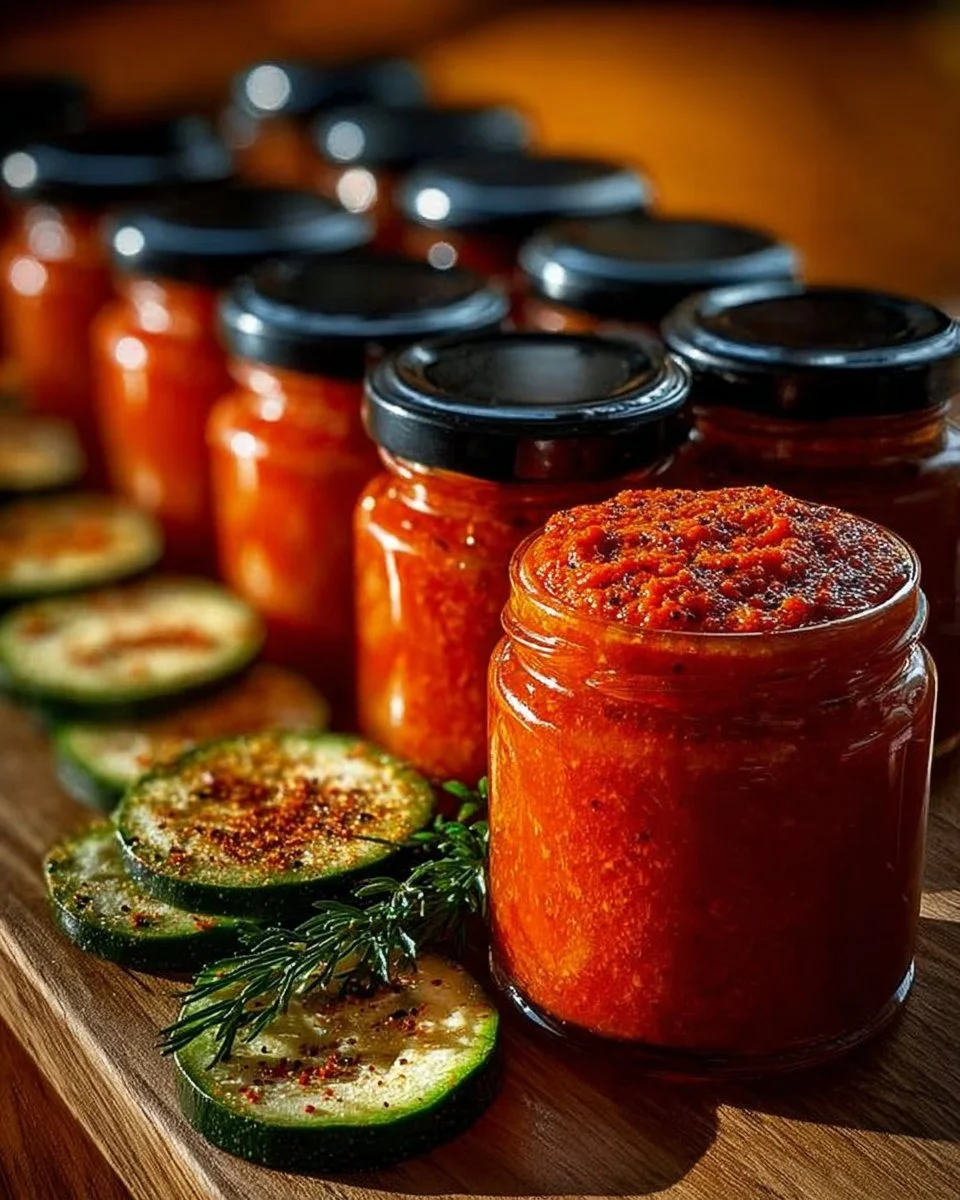
  • Thick Zucchini Ketchup with Chili and Coriander

    Thick Zucchini Ketchup with Chili and Coriander

    If you’re looking for a unique condiment to elevate your meals, this Thick Zucchini Ketchup with Chili and Coriander is a perfect choice. Made primarily with zucchini, onions, and tomato puree, this flavorful recipe offers a delightful twist on traditional ketchup, making it an ideal accompaniment for burgers, sandwiches, and more. With a hint of spice and aromatic herbs, this homemade ketchup is sure to impress family and friends.

    Ingredients:

    • 3.3 pounds (1500 g) zucchini
    • 1.1 pounds (500 g) onion
    • 1.1 pounds (500 g) tomato puree
    • 3.5 ounces (100 g) sugar
    • 4 tablespoons (60 ml) 9% vinegar
    • 10 pimento berries
    • ½ teaspoon whole black pepper
    • ½ teaspoon whole coriander
    • ½ teaspoon cloves
    • ½ teaspoon chili
    • ½ teaspoon ground cinnamon
    • Salt to taste

    Directions:

    1. Begin by cutting the ends off the zucchini and chopping them into smaller pieces. Place the chopped zucchini into a large pot.
    2. Add the roughly chopped onion and a pinch of salt to the zucchini. Allow the mixture to cook for 20 minutes after bringing it to a boil.
    3. Once cooked, blend the zucchini and onion mixture until it reaches a smooth consistency.
    4. Stir in the sugar and tomato puree, mixing well.
    5. Add the pimento berries, whole coriander seeds, and cloves to the pot.
    6. Cook for another 20-25 minutes, stirring occasionally to prevent sticking.
    7. Taste the ketchup and adjust the salt as necessary. Add the ground cinnamon and chili, and cook for one additional minute.
    8. Finally, stir in the vinegar, remove the pot from heat, and pour the ketchup into sterilized jars.
    9. Seal the jars and let them cool under a towel. Store them in a dark, cool place.

    How to Serve Thick Zucchini Ketchup with Chili and Coriander

    This Thick Zucchini Ketchup pairs beautifully with grilled meats, fries, or as a spread on sandwiches. Consider adding it to your favorite burger for a zesty kick. For a twist, use it as a dipping sauce for chips or fresh vegetables. Enjoy the rich flavors and unique taste of this homemade condiment anytime!

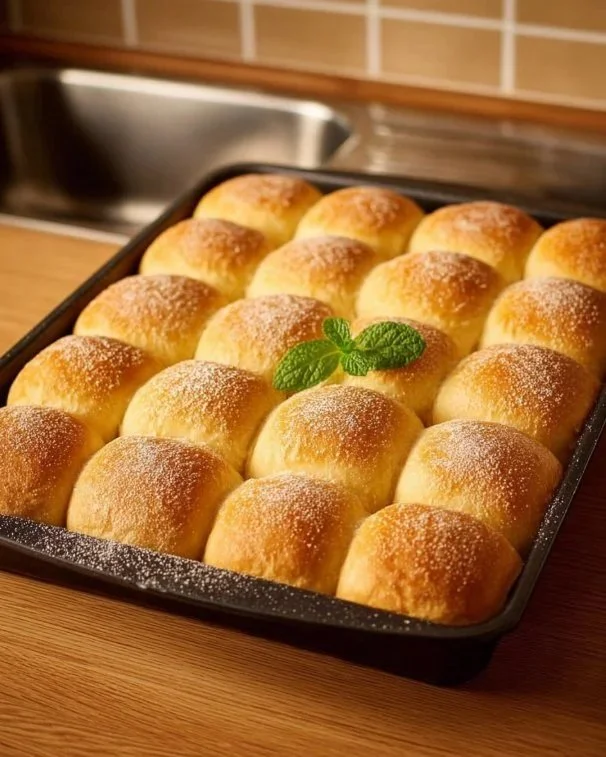
  • Apple Brioche with Sourdough Starter

    Apple Brioche with Sourdough Starter

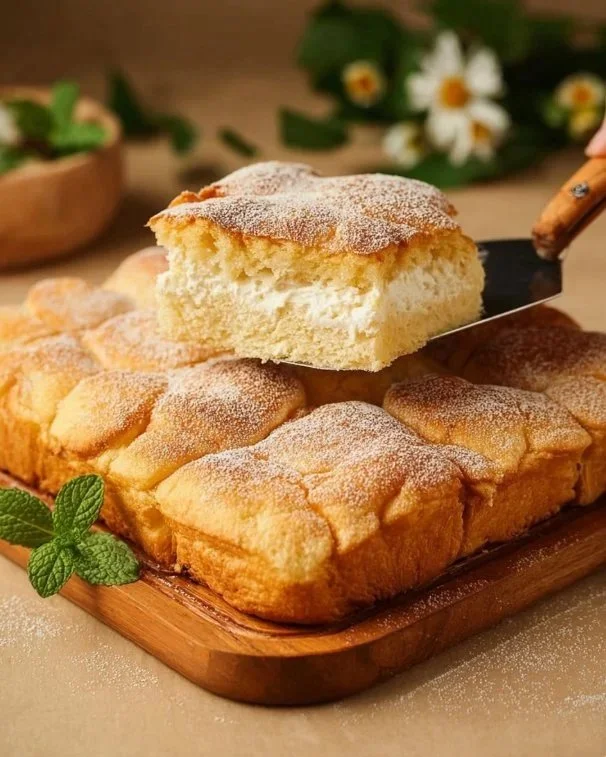
    Indulge in the delightful taste of homemade Apple Brioche made with a sourdough starter. This recipe combines the fluffy texture of brioche with the sweet and tangy flavor of tart apples, resulting in a perfect treat for breakfast or dessert. With its warm, buttery aroma and a hint of cinnamon, this Apple Brioche is sure to impress family and friends!

    Ingredients:

    • 2 cups warm milk (480 ml),
    • 1.5 oz fresh yeast (42 g),
    • 1/2 cup granulated sugar (100 g),
    • 7 1/2 cups all-purpose flour (960 g),
    • 3 egg yolks,
    • 1/2 cup melted butter (115 g),
    • Zest of 1/2 lemon,
    • 1 packet vanilla sugar (8 g),
    • 1/2 teaspoon salt,
    • 2.2 lbs tart apples (1 kg),
    • 2-3 tablespoons granulated sugar (25-38 g),
    • 1 packet vanilla sugar (8 g),
    • 1 teaspoon ground cinnamon,
    • Vegetable oil for brushing,
    • Butter and flour for greasing the pan,
    • Powdered sugar for dusting.

    Directions:

    Start by preparing the apple filling. Peel, core, and coarsely grate the tart apples. In a skillet, sauté the grated apples with granulated sugar, vanilla sugar, and ground cinnamon. Cook until the apples soften, then drain any excess juice.

    Next, prepare the sourdough starter. Crumble the fresh yeast into a small bowl, add a tablespoon of granulated sugar, and pour in a bit of the warm milk. Mix well and let it sit for about 10 minutes until it foams.

    In a large mixing bowl, sift the all-purpose flour. Add the remaining granulated sugar, vanilla sugar, salt, and lemon zest. Make a well in the center, and pour in the yeast mixture, egg yolks, remaining warm milk, and melted butter. Knead the dough until it is smooth and elastic.

    Cover the dough and let it rise in a warm place until it doubles in size, which should take about an hour. Once risen, turn out the dough onto a floured surface and roll it out to about 1/4 inch thickness. Cut the dough into squares.

    Place about a teaspoon of the apple filling in the center of each square. Fold the corners of the squares toward the center to form buns and place them in a greased baking pan. Let the buns rise again until they puff up, which should take around 30 minutes.

    Preheat your oven to 350°F (180°C). Bake the buns for 30-40 minutes or until they are golden brown and cooked through. Allow them to cool slightly before dusting with powdered sugar.

    How to Serve Apple Brioche with Sourdough Starter

    Serve your warm Apple Brioche fresh out of the oven, dusted with powdered sugar. They pair wonderfully with a dollop of whipped cream, a scoop of vanilla ice cream, or a drizzle of caramel sauce for extra sweetness. Enjoy this delightful pastry at breakfast, brunch, or as a comforting dessert any time of the day!

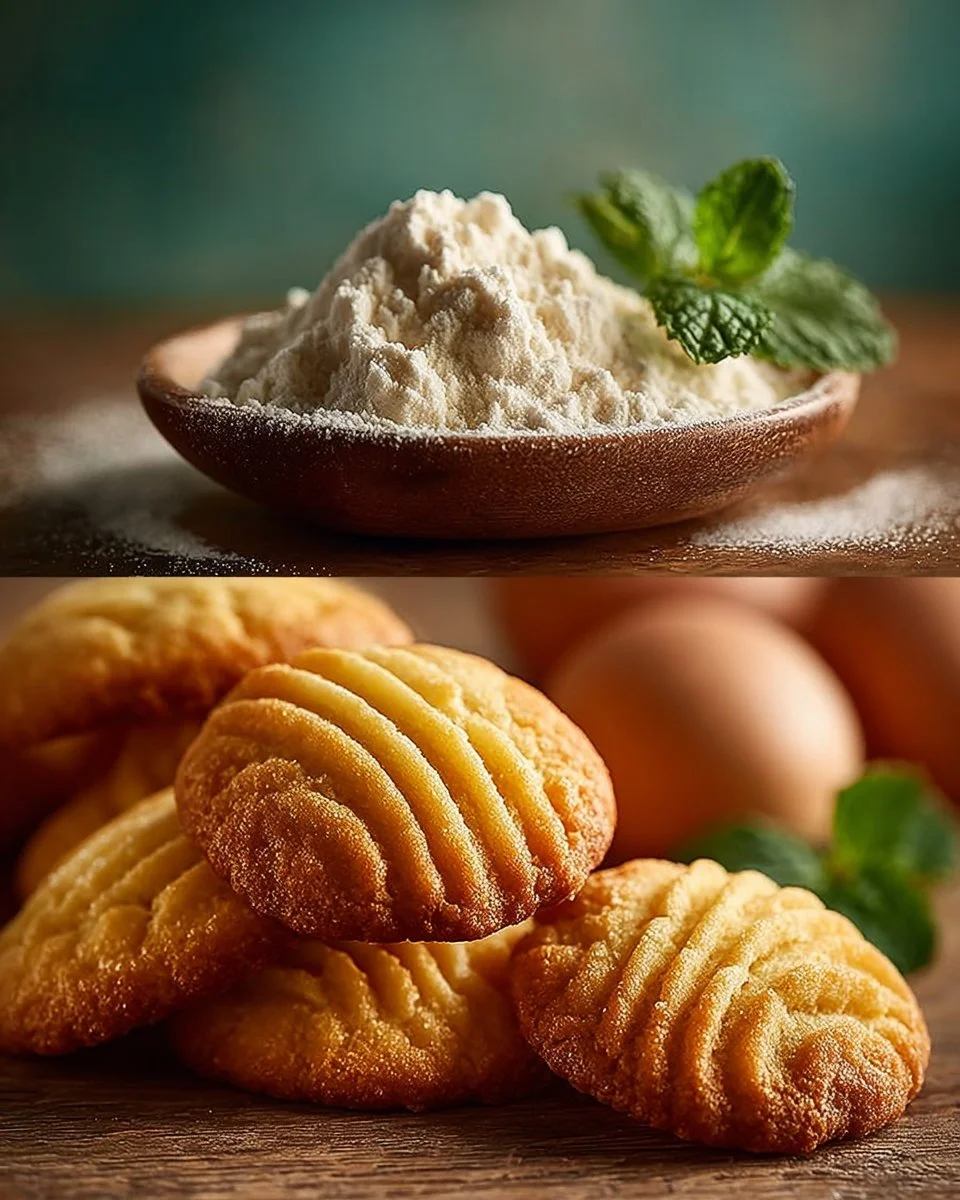
  • Sugar Cookies

    Sugar Cookies

    Delicious Homemade Sugar Cookies

    Looking for a simple and sweet treat to brighten your day? These homemade sugar cookies are easy to make and perfect for any occasion. With just a few basic ingredients and a straightforward method, you’ll have a delightful batch ready to enjoy in no time!

    Ingredients:

    • 1 ½ cups (200 g) all-purpose flour
    • 1 ½ teaspoons baking powder
    • ½ cup (100 g) granulated sugar
    • ½ teaspoon vanilla sugar
    • 1 large egg
    • ⅓ cup (100 ml) vegetable oil
    • ¼ teaspoon salt
    • Granulated sugar for coating

    Directions:

    1. In a large mixing bowl, whisk together the egg, salt, granulated sugar, and vanilla sugar until well combined.
    2. Add the vegetable oil to the egg mixture and stir briefly to blend.
    3. In a separate bowl, sift together the all-purpose flour and baking powder.
    4. Gradually incorporate the dry mixture into the wet mixture, using a wooden spoon or your hands to form a smooth, elastic dough. If the dough feels too sticky, refrigerate it for 10-15 minutes.
    5. Preheat your oven to 350°F (180°C) and line a baking sheet with parchment paper.
    6. Pour some granulated sugar into a small bowl for coating the cookies.
    7. Take small pieces of dough and roll them into walnut-sized balls. Dip one side of each ball into the sugar and place them sugar side up on the prepared baking sheet, leaving enough space between each cookie.
    8. Using the bottom of a glass or your fingers, gently flatten each ball to about 1 cm thick. For a decorative touch, use a fork to imprint a grid pattern on the surface of each cookie.
    9. Bake in the preheated oven for 10-15 minutes or until the edges begin to lightly brown.
    10. Once baked, transfer the cookies to a wire rack to cool. Store in an airtight container to keep them fresh.

    How to Serve Sugar Cookies

    Enjoy these sugar cookies fresh out of the oven or let them cool completely before savoring their sweetness. They pair perfectly with a glass of milk or a warm cup of tea. These cookies also make a delightful addition to any dessert table, and they are great for sharing with friends and family. Happy baking!

  • Doughnuts

    Doughnuts

    Delicious Homemade Doughnuts Recipe

    If you’re craving warm, fresh doughnuts filled with your favorite jam, look no further! This homemade doughnut recipe is simple, using common ingredients like flour, milk, and eggs, and takes you through the delightfully rewarding process of frying your own doughnuts. Perfect for breakfast or a sweet treat, these doughnuts will have your family begging for more!

    Ingredients:

    • 2 cups (250 g) all-purpose flour
    • 2 cups (250 g) bread flour
    • 1 ¼ cups (300 ml) warm milk
    • 1 oz (25 g) fresh yeast or 2 ¼ teaspoons (7 g) dry yeast
    • 2 tablespoons (30 g) granulated sugar plus 1 teaspoon for yeast
    • 2 egg yolks
    • 2 tablespoons (30 g) melted butter
    • 1 teaspoon grated lemon zest
    • A pinch of salt
    • 1 tablespoon rum (optional)
    • Vegetable oil or lard for frying
    • Homemade jam for filling
    • Powdered sugar for dusting

    Directions:

    1. Crumble the yeast into a bowl, add one teaspoon of sugar and ⅓ cup (100 ml) of warm milk. Stir lightly and leave it in a warm place for 10-15 minutes until it forms a foam.
    2. In a large bowl, mix both flours, salt, and the remaining sugar. Make a hole in the center of the mixture.
    3. Pour the fermented yeast into the hole, then add the egg yolks, remaining milk, melted butter, lemon zest, and rum if desired. Knead for at least 10 minutes until you achieve a smooth and not sticky dough.
    4. Lightly dust the dough with flour, cover it with a cloth, and let it rise in a warm place for about 1 hour until it has doubled in volume.
    5. Roll out the dough on a floured surface to a thickness of about ½ inch (1-1.5 cm). Cut out circles using a glass or a cookie cutter.
    6. Gather the remaining dough, knead again, and cut out additional circles.
    7. Arrange the doughnuts on a floured surface, cover them, and let them rise for an additional 20-30 minutes.
    8. Heat a thick layer of oil or lard (at least 1-1.5 inches (3-4 cm) deep) to around 320-340 °F (160-170 °C).
    9. Make a hole in the center of each doughnut. Insert the doughnuts into the hot oil with the hole facing down and fry covered until golden brown for about 2-3 minutes.
    10. Carefully turn them and fry the other side until golden brown as well.
    11. Remove the doughnuts with a slotted spoon and place them on absorbent paper to cool.
    12. Dust the cooled doughnuts with powdered sugar and serve.
    13. Once cooled, fill the doughnuts with your favorite homemade jam.

    How to Serve Doughnuts

    These delicious doughnuts are perfect for serving warm, dusted with powdered sugar, and filled with your preferred jam. Pair them with a nice cup of coffee or tea for a delightful breakfast or snack. You can also experiment with different fillings such as custard or chocolate for variety. Enjoy the satisfying experience of indulging in your homemade treats!

  • Baked Zucchini Sticks

    Baked Zucchini Sticks

    Delicious Baked Zucchini Sticks Recipe

    If you’re looking for a tasty snack or appetizer that’s both healthy and easy to make, these Baked Zucchini Sticks are the perfect choice. With fresh zucchini, flavorful Sulguni cheese, and a crispy breadcrumb coating, this recipe is sure to impress your family and friends. Plus, they pair wonderfully with a creamy dipping sauce or a zesty herb and garlic dip.

    Ingredients:

    • 2 zucchini (approximately 300 g)
    • 2 eggs
    • Salt to taste
    • Black pepper to taste
    • 150 g Sulguni cheese (approximately 5 oz)
    • 4 tablespoons breadcrumbs (approximately 30 g)
    • 2 tablespoons flour (approximately 15 g)
    • 20-30 g mix of cilantro and parsley (approximately 1 oz)

    Directions:

    1. Preheat your oven to 180°C (approximately 350°F).
    2. Cut the ends off the washed zucchini and slice the rest into sticks.
    3. In a mixing bowl, combine the chopped cilantro and parsley with the grated Sulguni cheese and breadcrumbs.
    4. In another bowl, beat the eggs and season with salt and pepper.
    5. Sift the flour into a separate bowl.
    6. Coat the zucchini sticks by rolling them first in the flour, then dipping them in the egg mixture, and finally coating them with the cheese and breadcrumb mixture.
    7. Arrange the coated zucchini sticks on a baking sheet lined with parchment paper.
    8. Bake in the preheated oven for 20-25 minutes, or until they are golden and crispy.

    How to Serve Baked Zucchini Sticks

    Serve your delicious baked zucchini sticks warm, accompanied by a creamy sauce or a herb and garlic dip for extra flavor. They make a great appetizer for parties or a healthy snack for family movie nights. Pair them with a fresh salad or vegetable platter for a complete meal. Enjoy this delightful and nutritious treat!

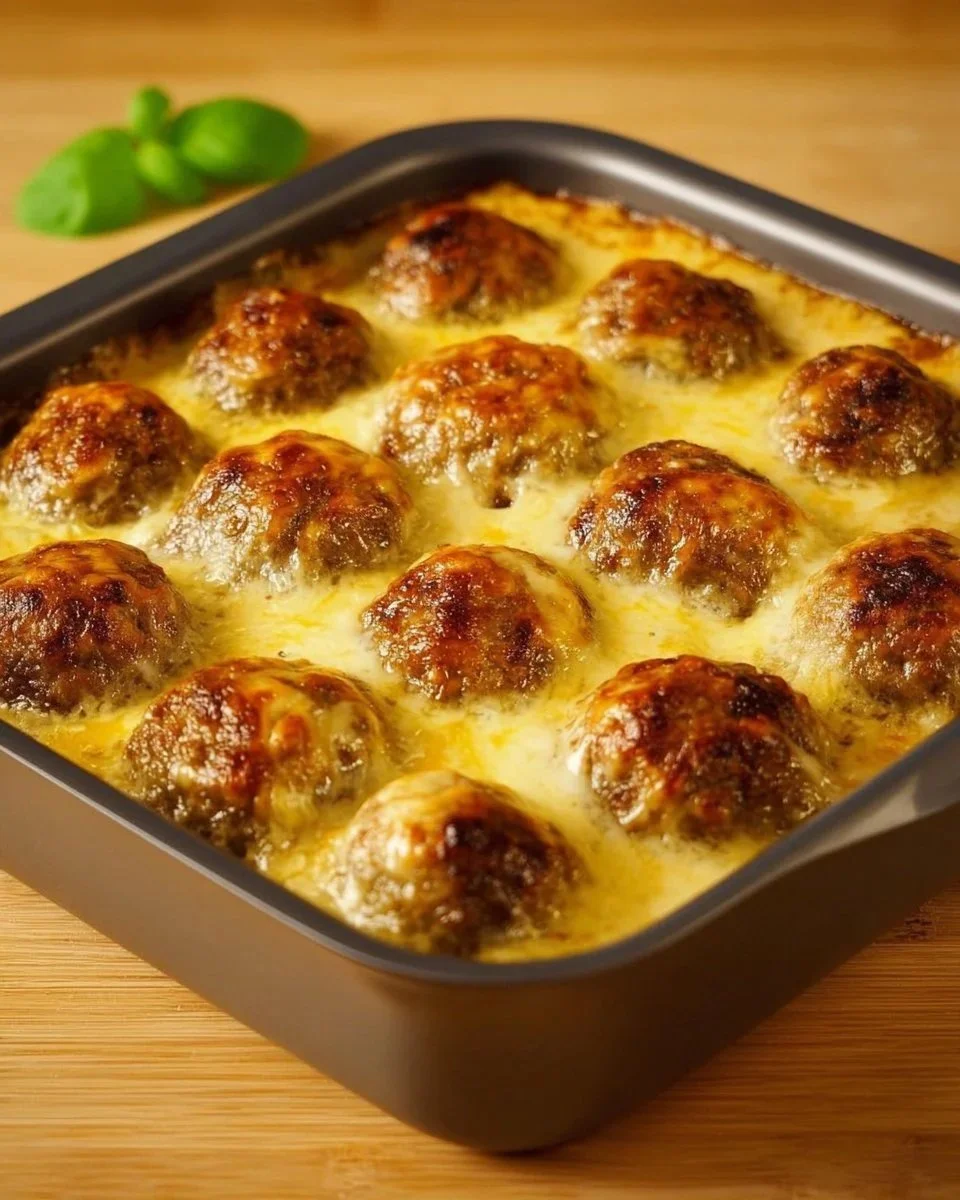
  • Baked Meatballs with Bechamel Sauce

    Baked Meatballs with Bechamel Sauce

    Baked Meatballs with Bechamel Sauce: A Comfort Food Delight

    If you’re searching for a comforting and hearty dish to satisfy your cravings, look no further than Baked Meatballs with Bechamel Sauce. This delightful recipe combines tender ground meat, aromatic spices, and creamy sauce, topped with cheese for an irresistible finish. Perfect for family dinners or gatherings, this dish not only warms the heart but is also easy to prepare.

    Ingredients

    • 1 pound (500 g) ground meat (pork or a mix)
    • 1 medium red onion
    • 3 cloves garlic
    • 1 large potato (about 200 g)
    • 1 large egg
    • 3 tablespoons flour or breadcrumbs
    • 1/2 teaspoon salt
    • 1/2 teaspoon black pepper
    • 1/2 teaspoon turmeric
    • 1/2 teaspoon dried garlic
    • Oil for frying
    • 3.5 tablespoons (50 g) butter
    • 2 tablespoons flour
    • 2.5 cups (600 ml) warm milk
    • 1/3 cup (100 ml) cooking cream (10-12%)
    • 1/3 teaspoon salt
    • A pinch of nutmeg
    • Dried basil and rosemary to taste
    • 1 cup (100 g) grated Gouda cheese
    • 1 cup (100 g) grated Mozzarella cheese

    Directions

    1. Finely chop the onion and peel and grate the potato. Remove excess water from the grated potato.
    2. In a mixing bowl, combine the ground meat, grated potato, chopped onion, minced garlic, egg, flour (or breadcrumbs), and spices. Mix well using your hands.
    3. Form the mixture into small round meatballs, yielding about 8-10 pieces.
    4. Heat oil in a skillet and fry the meatballs on both sides until golden brown, approximately 3-4 minutes per side.
    5. Transfer the fried meatballs to a buttered baking dish.
    6. For the Bechamel sauce, melt the butter in a saucepan, then add the flour and whisk for 1-2 minutes.
    7. Gradually pour in the warm milk, bringing it to a boil. Continue to cook for 5-6 minutes until the sauce thickens.
    8. Stir in the cooking cream, and season with salt, nutmeg, and herbs of your choice.
    9. Pour the Bechamel sauce evenly over the meatballs in the baking dish.
    10. Preheat your oven to 392°F (200°C).
    11. Grate the Gouda and Mozzarella cheese, then sprinkle it generously over the top.
    12. Bake in the preheated oven for 30 minutes until the dish is golden brown and bubbling.
    13. Allow the dish to stand for a few minutes before serving.

    How to Serve Baked Meatballs with Bechamel Sauce

    These baked meatballs with Bechamel sauce pair wonderfully with mashed potatoes, boiled potatoes, or a fresh vegetable salad. For a complete meal, consider serving a side of crusty bread to soak up the delicious sauce. This dish is sure to impress family and friends alike, making it a staple in your home cooking repertoire. Enjoy the comforting flavors and the warmth of this heartwarming meal!

  • Rye Bread Fritters

    Rye Bread Fritters

    Delicious Rye Bread Fritters Recipe

    If you’re looking for a tasty way to use up dry rye bread, these rye bread fritters are the perfect solution. Crispy on the outside and fluffy on the inside, these fritters are packed with flavor from garlic and onions, making them a delightful appetizer or side dish. Using pantry staples, they come together easily and are sure to impress!

    Ingredients:

    • 10.5 oz (300 g) dry rye bread
    • 3 large eggs
    • 1 medium onion, finely chopped
    • 4 cloves garlic, crushed
    • 1 tablespoon plain flour (15 g)
    • 2 teaspoons dried marjoram
    • 1/2 teaspoon ground cumin
    • 1 teaspoon salt (5 g)
    • Freshly ground black pepper, to taste
    • Vegetable oil for frying

    Directions:

    1. Break the dry rye bread into smaller pieces in a large bowl and cover with cold water until fully submerged. Let it soak for a few minutes until completely soft.
    2. Squeeze out all excess water from the soaked bread. Tear the bread into a bowl or mash it with a fork to obtain a fine puree.
    3. Add the eggs, finely chopped onion, and crushed garlic to the bread mixture. Season with salt, black pepper, marjoram, and ground cumin.
    4. Finally, add a tablespoon of plain flour to help bind the mixture together. Mix everything thoroughly until you form a compact dough.
    5. Heat an adequate amount of vegetable oil (about 0.5 cm deep) in a pan over medium heat.
    6. Using a spoon, take portions of the dough and shape them into fritters about 1 cm thick using your hands or directly in the pan.
    7. Fry for about 3-4 minutes on each side until golden brown and crispy.
    8. Place the finished fritters on a paper towel to absorb excess grease.
    9. Serve hot, either on their own with sour cream or as a side dish to meat and vegetable dishes.

    How to Serve Rye Bread Fritters

    These rye bread fritters are versatile and can be served in many ways. For a simple and delightful experience, enjoy them hot with a dollop of sour cream or yogurt. They also pair wonderfully with roasted meats or grilled vegetables, making them a great side dish for any meal. To elevate the flavors, consider serving them with a homemade dipping sauce or a sprinkle of fresh herbs. Enjoy your culinary creation!

  • Ricotta Cheesecake

    Ricotta Cheesecake

    Indulgent Ricotta Cheesecake Recipe: A Creamy Delight

    Looking for a dessert that’s both decadent and crowd-pleasing? This Ricotta Cheesecake is the perfect choice. With its creamy ricotta filling and buttery crust, this delightful treat is sure to impress your family and friends. Let’s dive into this simple, yet incredibly satisfying recipe!

    Ingredients:

    • 3 ½ cups all-purpose flour (430 g)
    • 1 teaspoon baking powder
    • ¾ cup granulated sugar (120 g)
    • 1 cup softened butter (200 g)
    • 2 large eggs
    • 1 tablespoon sour cream
    • 1 ⅓ cups ricotta cheese (600 g)
    • ½ cup granulated sugar (100 g)
    • 1 egg white
    • 1 tablespoon sour cream
    • 1 tablespoon cornstarch
    • Butter and flour for greasing and flouring the pan
    • Powdered sugar for dusting

    Directions:

    1. Prepare the Pastry Crust: In a large bowl, cream together the softened butter and ¾ cup granulated sugar until the mixture is fluffy. Add in the eggs one at a time, mixing well after each addition.

    2. Combine Dry Ingredients: In another bowl, whisk together 3 ½ cups of flour and 1 teaspoon of baking powder. Gradually add the dry ingredients to the butter mixture, along with 1 tablespoon of sour cream. Mix until the dough is smooth.

    3. Chill the Dough: Divide the dough into two equal halves. Wrap each half in plastic wrap and refrigerate for at least 30 minutes.

    4. Prepare the Filling: In a separate bowl, combine 1 ⅓ cups of ricotta cheese, ½ cup granulated sugar, 1 egg white, 1 tablespoon of sour cream, and 1 tablespoon of cornstarch. Mix until smooth and well combined.

    5. Preheat the Oven: Preheat your oven to 350°F (180°C).

    6. Assemble the Cheesecake: Grease and flour a baking pan. Grate the larger portion of the dough directly onto the bottom of the pan and press it down lightly to form an even layer. Spread the ricotta filling evenly over the grated dough, then grate the smaller portion of dough over the filling.

    7. Bake: Bake the cheesecake in the preheated oven for 35-40 minutes, or until the top is golden brown.

    8. Cool and Serve: Allow the cheesecake to cool completely in the pan before serving. Once cooled, dust the top with powdered sugar.

    How to Serve Ricotta Cheesecake

    This Ricotta Cheesecake is best enjoyed chilled, making it a perfect make-ahead dessert for gatherings. Serve it with fresh berries or a drizzle of honey for added flavor. Pair it with a cup of coffee or tea for a delightful end to any meal. Enjoy the creamy texture and rich taste of this Italian-inspired dessert!

  • Pumpkin Spice Cake

    Pumpkin Spice Cake

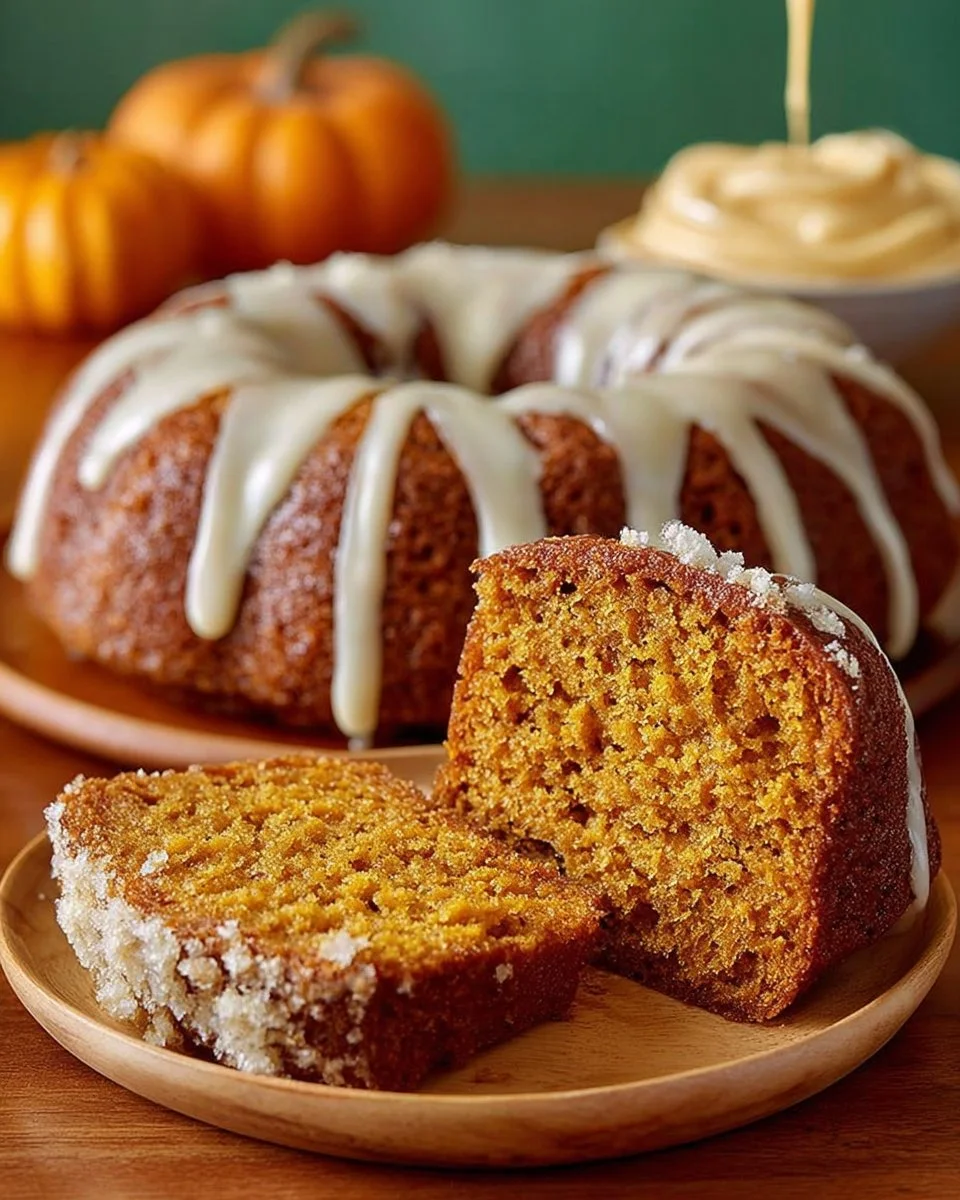
    Pumpkin Spice Cake is the quintessential fall dessert, blending warm spices with moist pumpkin flavor that’s sure to delight your taste buds. This easy recipe combines all-purpose flour, pumpkin puree, and an array of aromatic spices to create a deliciously comforting cake, perfect for family gatherings or holiday celebrations.

    Ingredients:

    • 2 ½ cups (310 g) all-purpose flour or whole wheat flour
    • ½ cup (125 g) granulated sugar
    • ½ cup (125 g) brown sugar
    • 1 teaspoon baking powder
    • ½ teaspoon baking soda
    • 1 teaspoon ground cinnamon
    • ½ teaspoon ground allspice
    • ¼ teaspoon ground ginger
    • ¼ teaspoon ground nutmeg
    • ½ teaspoon salt
    • 3 large eggs
    • ½ cup (125 g) pumpkin puree
    • ¼ cup (65 ml) vegetable oil
    • ¼ cup (65 ml) melted butter
    • ¼ cup (65 ml) buttermilk or milk
    • 1 teaspoon vanilla or almond extract
    • 1 ½ cups (150 g) powdered sugar
    • 2 tablespoons softened cream cheese
    • 1 tablespoon pumpkin puree
    • 1-2 tablespoons milk

    Directions:

    1. Preheat your oven to 350°F (180°C). Grease and flour a 9-inch (24 cm) round cake pan.
    2. In a large bowl, combine the dry ingredients: flour, granulated sugar, brown sugar, baking powder, baking soda, cinnamon, allspice, ginger, nutmeg, and salt. Mix well.
    3. In another bowl, whisk together the wet ingredients: eggs, pumpkin puree, vegetable oil, melted butter, buttermilk, and vanilla extract.
    4. Gently combine the wet and dry ingredients until just mixed. Be careful not to overmix.
    5. Pour the batter into the prepared cake pan, spreading it evenly.
    6. Bake in the preheated oven for 45-50 minutes, or until a toothpick inserted into the center comes out clean.
    7. Allow the cake to cool in the pan for 10-15 minutes, then invert it onto a wire rack to cool completely.
    8. To prepare the frosting, mix cream cheese, pumpkin puree, and powdered sugar, adding milk as needed to reach your desired consistency.
    9. Once the cake has cooled, pour the frosting over the top and serve sliced.

    How to Serve Pumpkin Spice Cake

    Serve your Pumpkin Spice Cake with a dollop of whipped cream or a scoop of vanilla ice cream for an indulgent treat. This cake pairs beautifully with a cup of coffee or tea, making it a perfect addition to a cozy afternoon gathering. Enjoy the warm flavors of fall in each delightful slice!

  • Banana Tunnel

    Banana Tunnel

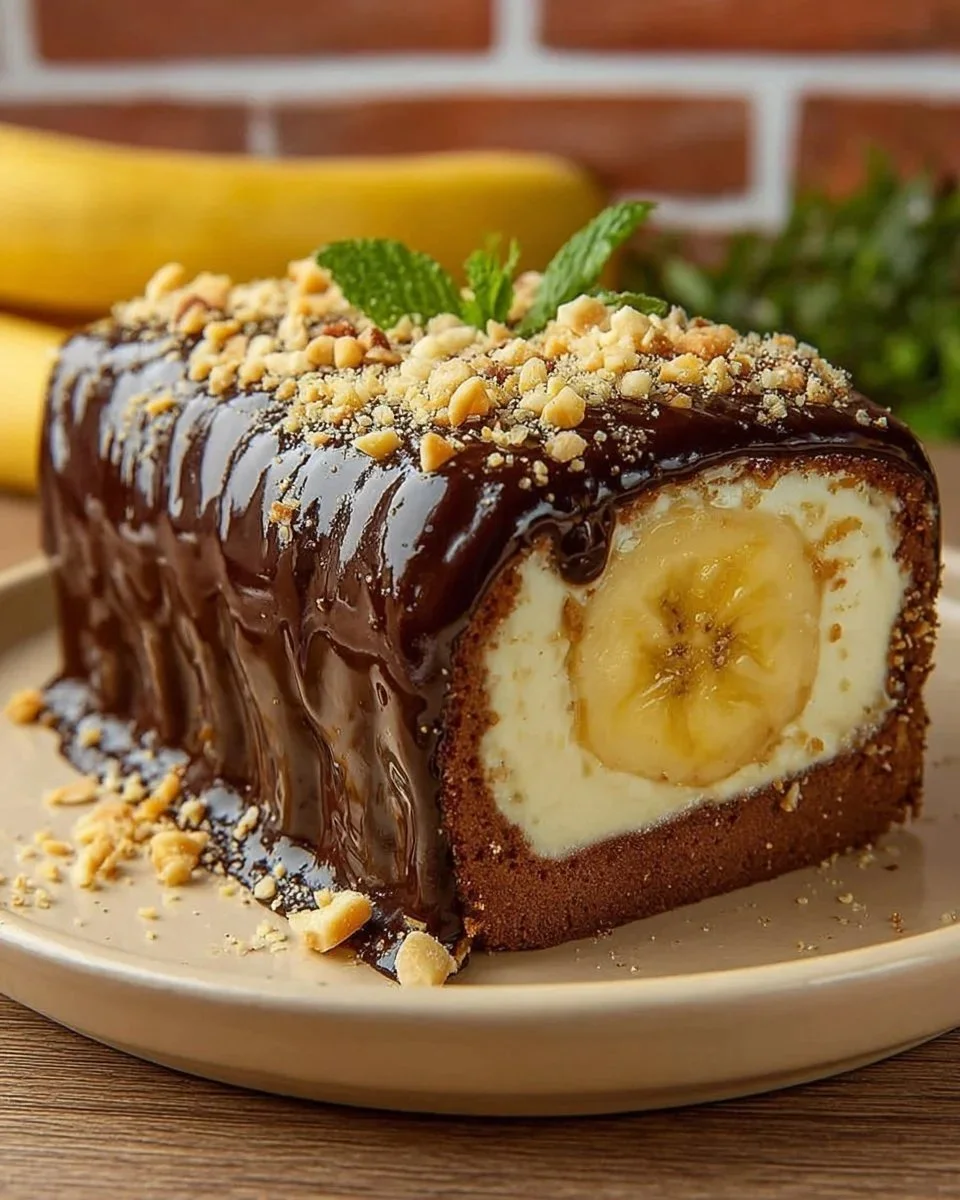
    If you’re looking for a delicious dessert that combines creamy textures and rich flavors, this Banana Tunnel recipe is perfect for you. Featuring a delightful blend of bananas, creamy cheeses, and a decadent chocolate topping, this no-bake cake is sure to impress. Plus, it’s simple to make and perfect for any occasion!

    Ingredients:

    • 250 g (about 9 oz) of butter biscuits
    • 100 g (about 3.5 oz) of melted butter
    • 50 g (about 1.75 oz) of powdered sugar
    • 2 tablespoons of cocoa powder
    • 2 tablespoons of rum
    • 1-2 tablespoons of milk
    • 400 ml (about 1.7 cups) of milk
    • 1 package of banana pudding powder
    • 3-4 tablespoons of granulated sugar
    • 1 package of vanilla sugar
    • 170 g (about 6 oz) of fresh cream cheese
    • 80 g (about 2.8 oz) of soft ricotta cheese
    • 2 ripe bananas
    • 100 g (about 3.5 oz) of dark chocolate
    • 80 ml (about 1/3 cup) of whipping cream
    • Dried banana chips or nuts for garnish

    Directions:

    1. Start by lining a cake pan with plastic wrap. Crush the butter biscuits into a fine powder. In a bowl, mix the crushed biscuits with powdered sugar and cocoa powder. Add the melted butter and rum, stirring until the mixture is smooth. Press this mixture into the bottom of the prepared pan and refrigerate until firm.

    2. In a saucepan over medium heat, warm the milk. Mix in the banana pudding powder and granulated sugar, stirring continuously until the mixture thickens. Once thickened, let it cool down. After cooling, blend it with cream cheese and ricotta until smooth and creamy.

    3. Pour half of the creamy mixture over the biscuit base in the pan. Slice the ripe bananas and layer them on top. Then, pour the remaining cream mixture over the bananas. Refrigerate for at least 4 hours to allow it to set properly.

    4. To make the chocolate topping, heat the whipping cream in a small saucepan. Once it’s warm, add the chopped dark chocolate and stir until smooth. Pour this chocolate mixture over the chilled cake and garnish with dried banana chips or nuts for added texture and flavor. Serve sliced and enjoy!

    How to Serve Banana Tunnel

    Serve your Banana Tunnel cake chilled for the best flavor experience. It’s great on its own or accompanied by a scoop of vanilla ice cream or a dollop of whipped cream. For added crunch, sprinkle some nuts or crushed banana chips on top just before serving. This dessert is perfect for summer gatherings, birthday parties, or any festive occasion where you want to impress your guests with a sweet treat!