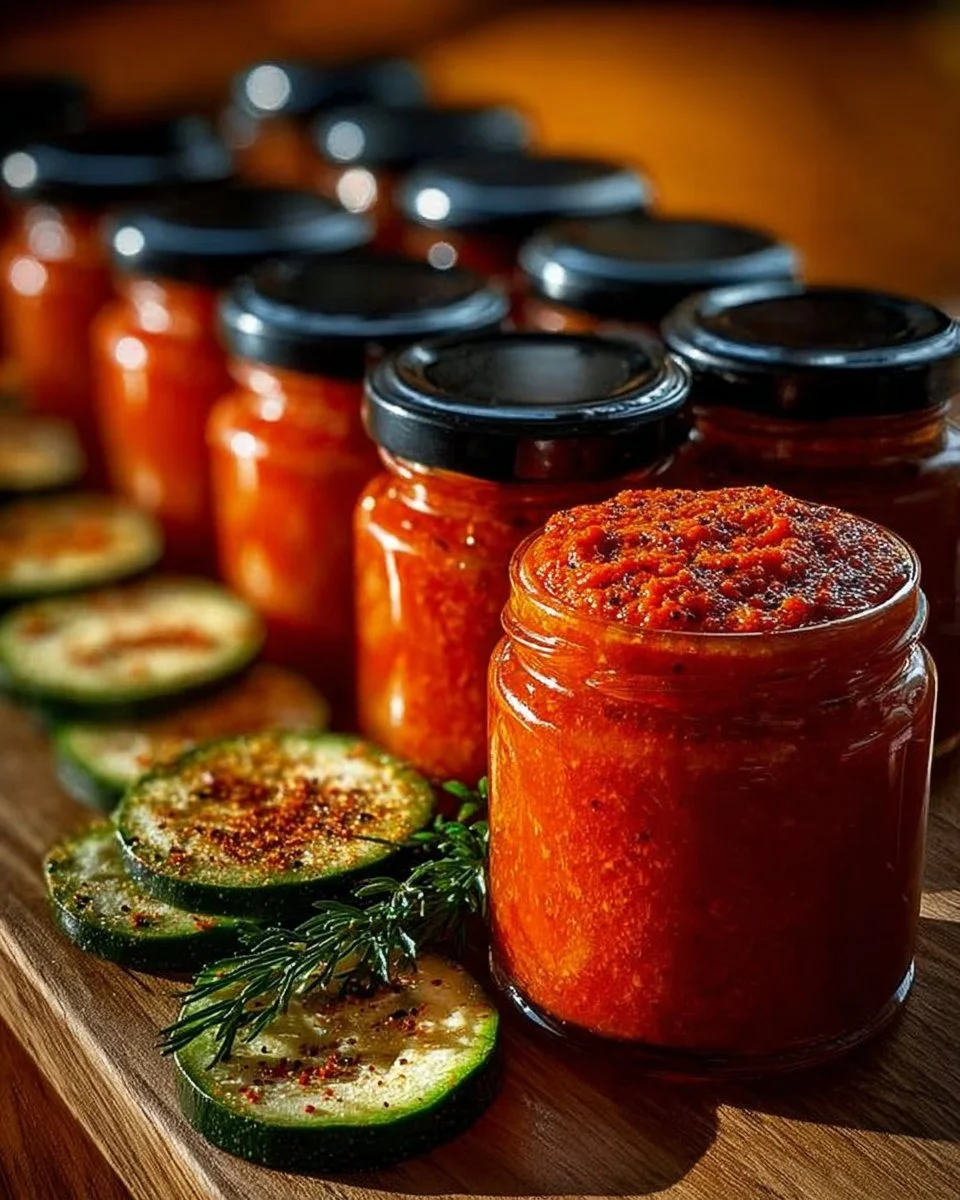
Preserved Peppers in Oil
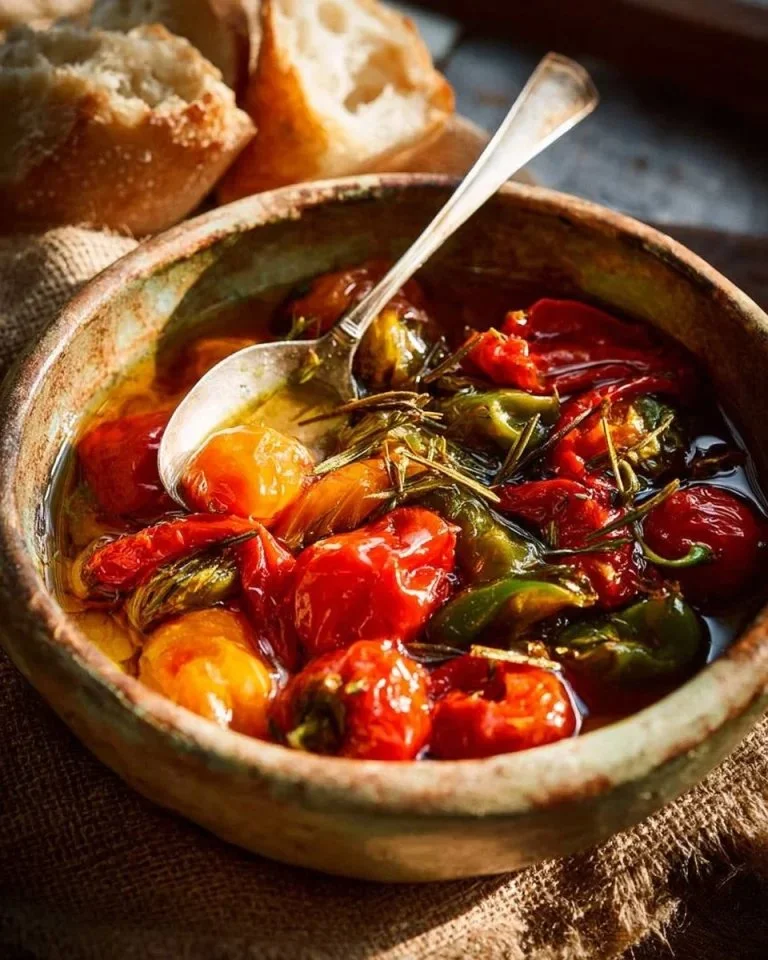
Preserved Peppers in Oil: A Burst of Flavor for Your Pantry Looking for a way to elevate your meals with vibrant flavors? These Preserved Peppers in Oil are not only easy to make but also add color and taste to any dish. With a mix of red, green, and yellow bell peppers, combined with the … Read more