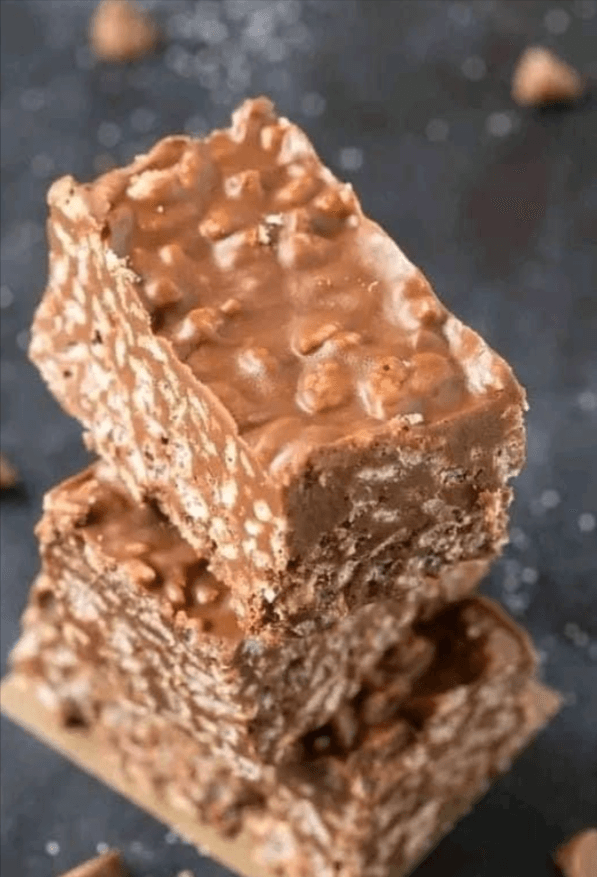
If you’re in the mood for a delightful, easy-to-make treat that’s sure to satisfy your sweet tooth, you’ve come to the right place. Our No-Bake Homemade Crunch Bars are not only delicious but also incredibly simple to prepare. These bars are the perfect combination of crispy rice cereal, semi-sweet chocolate, and a touch of vanilla, making them a go-to choice for both kids and adults. Plus, they’re a fantastic option for a quick and hassle-free dessert. So, let’s dive into the world of mouthwatering goodness!
History of Crunch Bars
Crunch Bars have been a favorite among snack lovers for decades. This classic recipe originated in the early 1930s and was initially introduced by the Nestlé company. The original Crunch Bar was a chocolate-covered candy bar filled with crispy rice, creating a unique texture and a satisfying crunch. It quickly gained popularity and has remained a beloved treat ever since.
Over the years, this classic recipe has seen many variations and adaptations, including the creation of homemade versions like the one we’re about to share. The beauty of homemade Crunch Bars is that you can customize them to your liking, experimenting with different flavors and textures. So, let’s get started on crafting your very own No-Bake Homemade Crunch Bars.
Ingredients
Gather these simple ingredients to create your No-Bake Homemade Crunch Bars:
- 2 cups (200g) crispy rice cereal
- 1 cup (175g) semi-sweet chocolate chips
- 1/2 cup (120g) unsalted butter
- 1/4 cup (60ml) light corn syrup
- 1 teaspoon vanilla extract
- Pinch of salt
The combination of these ingredients will result in a delectable treat that’s bound to impress your friends and family. Now that we have our ingredients ready, let’s move on to the step-by-step instructions.
Step-by-Step Instructions
1. Prepare Your Baking Pan
Begin by selecting a 9×9-inch baking pan and lining it with parchment paper. This will make it easier to remove the bars once they’ve set.
2. Melt the Chocolate and Butter
In a microwave-safe bowl, combine the semi-sweet chocolate chips and unsalted butter. Microwave in 20-second intervals, stirring in between, until the mixture is completely smooth and well combined. Be sure not to overheat, as chocolate can scorch easily.
3. Add Corn Syrup and Vanilla
Once the chocolate and butter are melted, stir in the light corn syrup and a teaspoon of vanilla extract. The corn syrup adds a touch of sweetness and helps bind the ingredients together, while the vanilla extract contributes a delightful aroma and flavor.
4. Mix in the Crispy Rice Cereal
Now, it’s time to incorporate the star of the show – the crispy rice cereal. Gently fold it into the chocolate mixture until all the cereal is evenly coated.
5. Press Into the Pan
Transfer the mixture into the prepared baking pan and use a spatula or the back of a spoon to press it down firmly. Ensure that the mixture is spread evenly throughout the pan.
6. Chill and Set
Place the pan in the refrigerator and let your Crunch Bars set for at least two hours. This allows the chocolate to harden and the bars to take shape.
7. Cut and Serve
Once your bars have set, remove them from the pan by lifting the parchment paper. Place them on a cutting board and use a sharp knife to cut them into your desired serving size. Whether you prefer small squares or larger rectangles, the choice is yours!
Now, your No-Bake Homemade Crunch Bars are ready to be enjoyed. These bars are an excellent choice for gatherings, as a lunchbox snack, or simply for satisfying your chocolate cravings. With their incredible taste and texture, they are sure to become a household favorite.