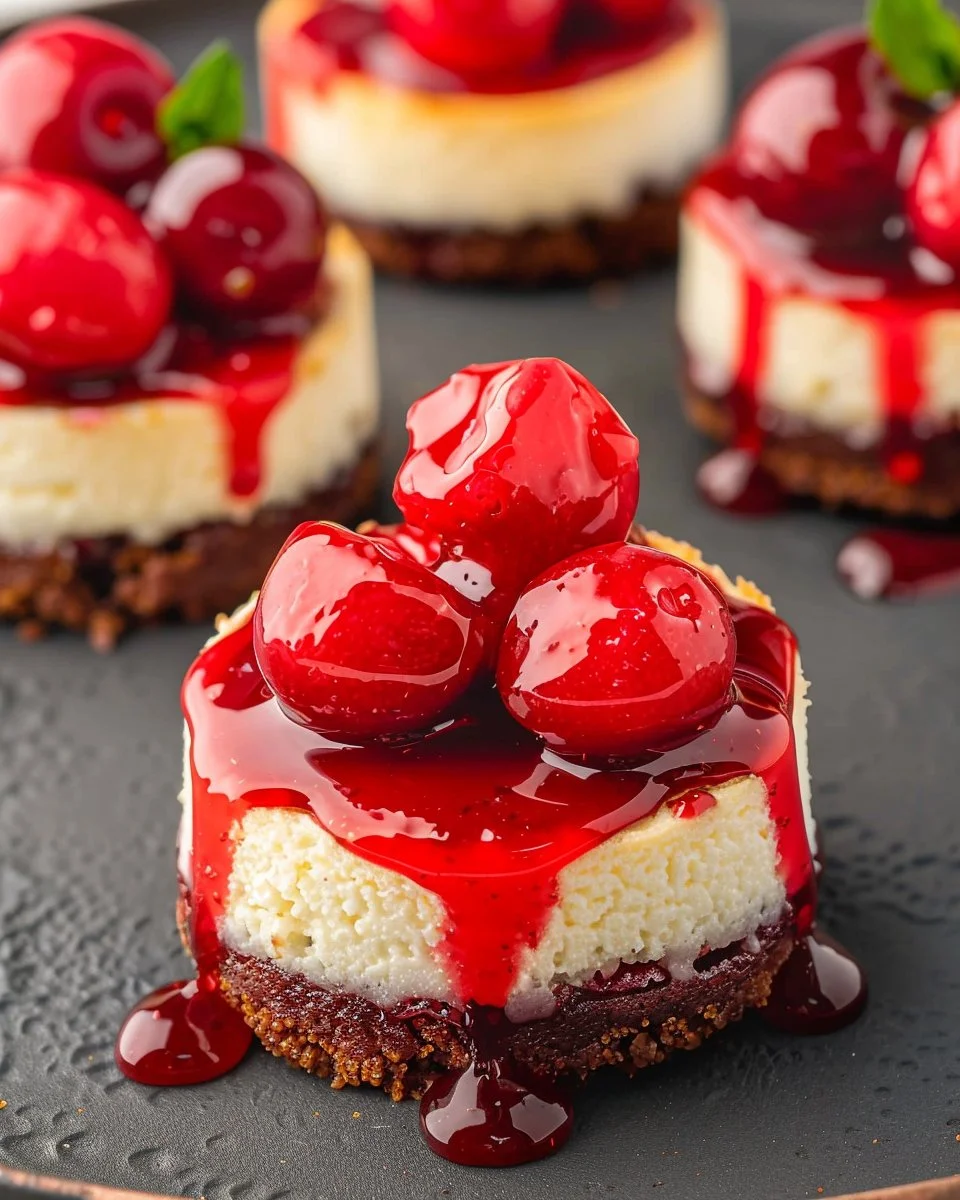
Strawberry Cheesecake Rolls
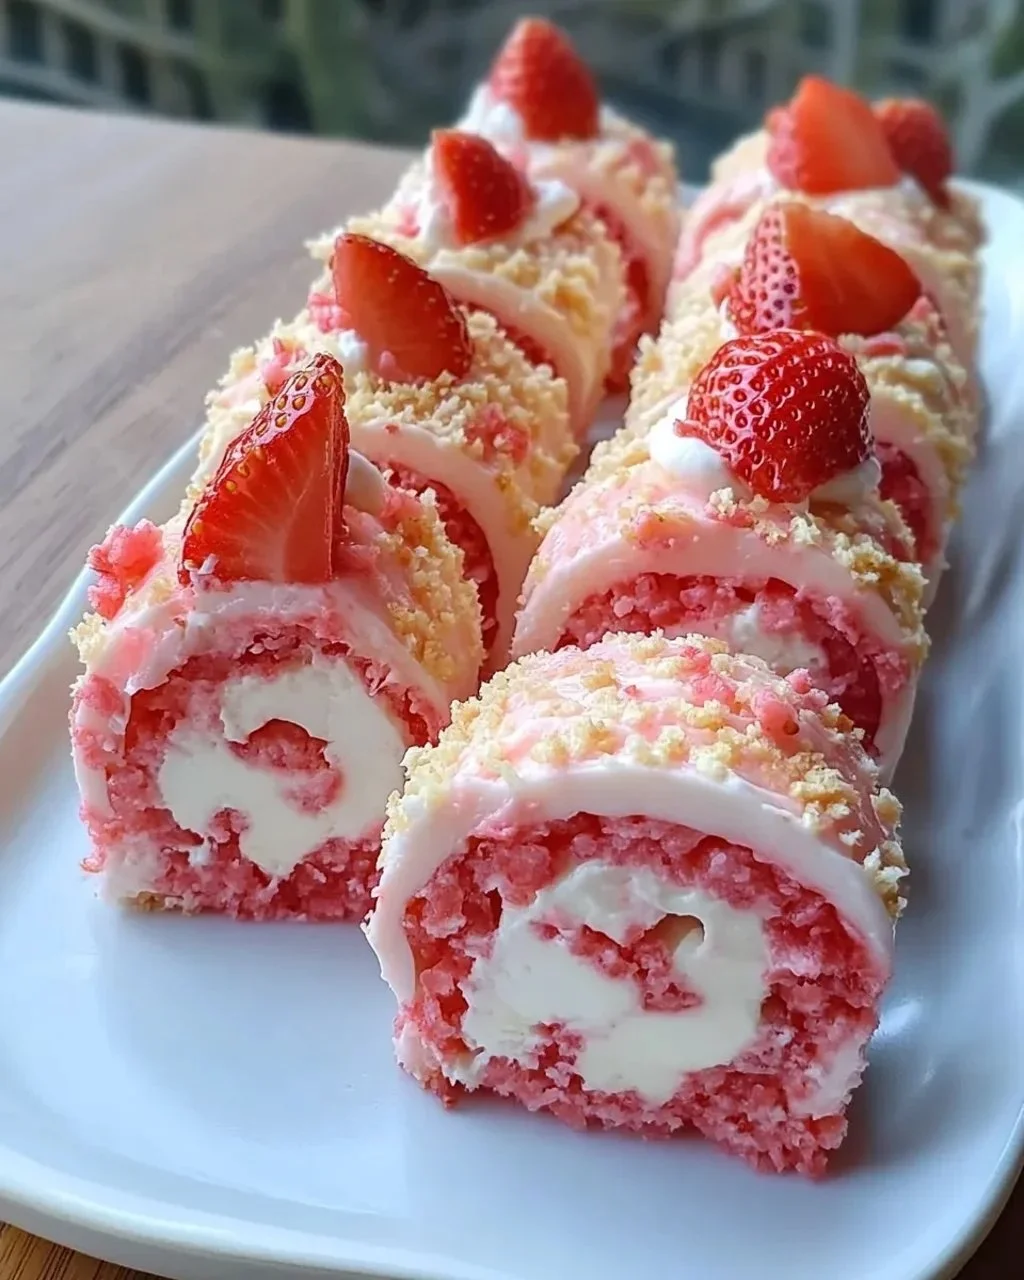
Strawberry Cheesecake Rolls are a delightful dessert that brings together the rich, creamy taste of cheesecake with the fresh, vibrant flavor of strawberries. These rolls are not only visually stunning but also incredibly easy to make. Perfect for parties, holiday celebrations, or just a sweet treat at home, they will certainly impress your family and … Read more